
Relays play a vital role in electrical and automation systems by controlling circuits safely and efficiently. Understanding how to check a relay coil and its contacts ensures reliable performance, minimizes downtime, and supports long-term system stability. This step-by-step guide simplifies the process for beginners and professionals alike.
Understanding Relay Components
Before testing, it is important to recognize the two main parts of a relay:
- Relay Coil: Generates a magnetic field when energized
- Relay Contacts: Open or close circuits based on coil activation
A proper inspection of both components ensures the relay operates as intended.
Tools Required for Relay Testing
To perform accurate checks, gather the following tools:
- Digital or analog multimeter
- Insulated test leads
- Power source (if required for coil activation)
- Safety gloves and protective gear
Having the right tools ensures both safety and precision during testing. Knowing how to test a relay ensures proper system functionality.
Step 1: Inspect the Relay Visually
Begin with a careful visual inspection:
- Look for signs of damage such as burns or cracks
- Check for loose or corroded terminals
- Ensure the relay casing is intact
This simple step helps identify obvious issues before moving to detailed testing.
Step 2: Test the Relay Coil
The coil is essential for activating the relay. Follow these steps:
- Set the multimeter to resistance (ohms) mode
- Connect probes to the coil terminals
- Observe the reading on the display
Expected Results:
- A finite resistance value indicates a healthy coil
- Zero resistance suggests a short circuit
- Infinite resistance indicates an open coil
Consistent readings confirm that the coil is functioning properly and ready for operation.
Step 3: Check Contact Continuity (Normally Open)
Relay contacts determine circuit behavior. Start with normally open contacts:
- Set the multimeter to continuity mode
- Place probes on the contact terminals
- Check the reading without energizing the coil
Expected Results:
- No continuity should be present in the resting state
This confirms that the contacts are correctly open when the relay is inactive.
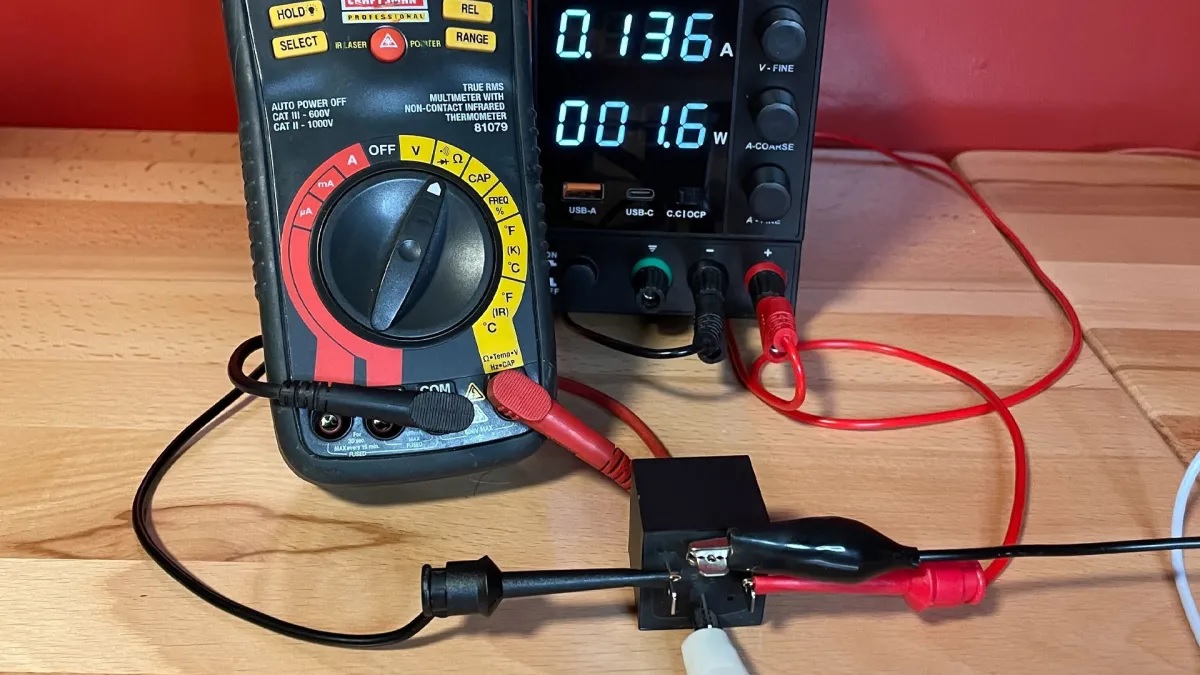
Step 4: Energize the Coil and Retest Contacts
Next, activate the relay:
- Apply the rated voltage to the coil
- Listen for a clicking sound indicating operation
- Recheck continuity across the contacts
Expected Results:
- Continuity should now be present
- This shows the contacts are closing properly
A smooth transition indicates reliable relay switching performance.
Step 5: Test Normally Closed Contacts
If applicable, check normally closed contacts:
- Measure continuity without coil power (should be closed)
- Energize the coil and recheck (should open)
This ensures all contact types function correctly within the relay.
Best Practices for Accurate Results
- Always disconnect power before testing resistance
- Avoid touching metal probe tips during measurement
- Ensure stable connections for precise readings
- Perform tests in a clean and dry environment
Following these practices enhances safety and measurement accuracy.
conclusion
Checking relay coil and contacts is a straightforward yet essential process for maintaining efficient electrical systems. By following a structured approach visual inspection, coil testing, and contact verification you can ensure reliable operation and prevent unexpected failures. With consistent practice and attention to detail, relay testing becomes a quick and confident task that supports system performance and safety.